Setup PHPStorm SFTP
An easy way to edit your site directly is to connect via SSH File Transfer Protocol (SFTP). This guide covers how to upload files over SFTP with PHPStorm. You can approach this 2 ways.
If you haven’t already, go to Jetbrains.com/student to sign-up for your academic licence.
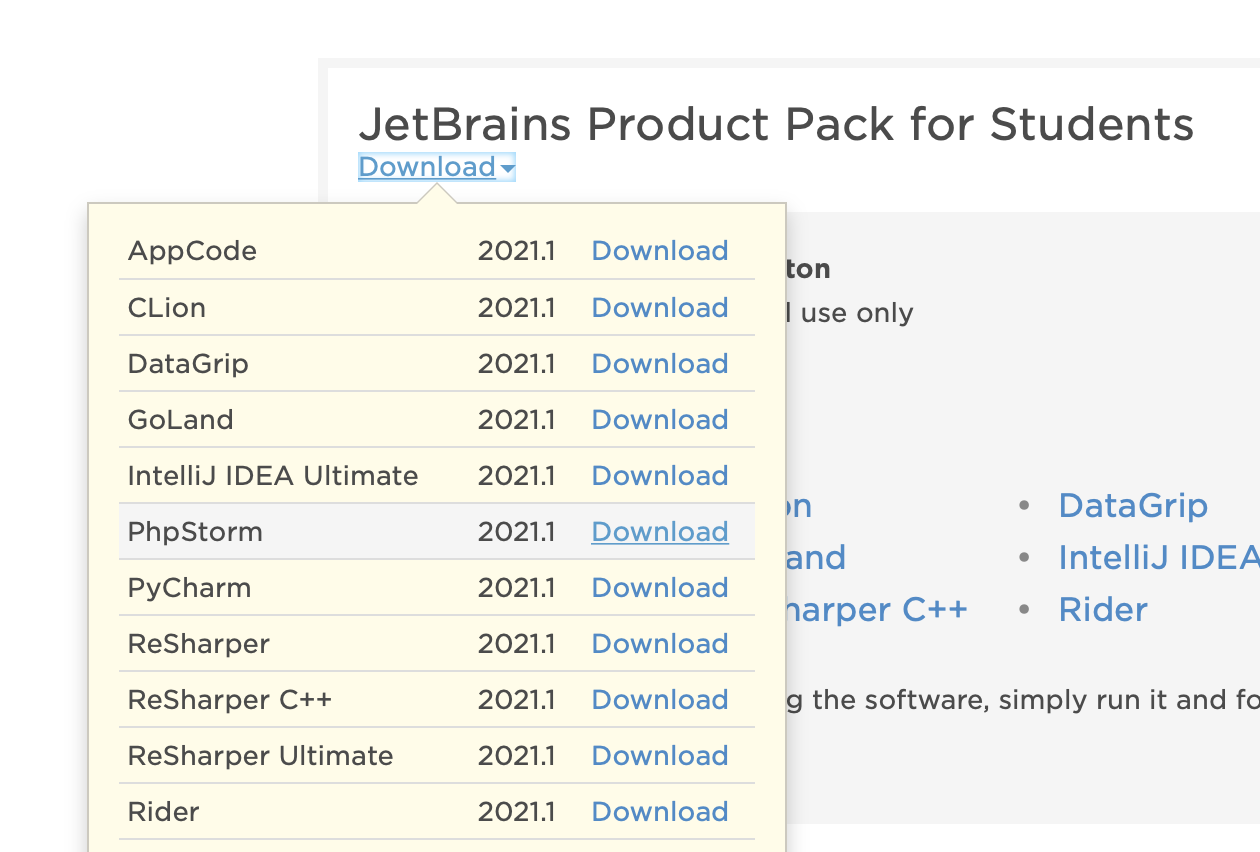
Once you have signed-up, login to JetBrains and you should see your academic licences. Click Download underneath the licence to see the apps available. Select PHPStorm
Create A New Project
Set SFTP Server
-
Go to Preferences (or Settings)
- : ⌘ + ,
- : Ctrl + Alt + S
Build, Execution, Deployment->Deployment- Click the + icon to add a server.
- Select SFTP
- It is a good idea to name it the same as your domain
your_domain.edinburgh.domains
- Next to SSH Configuration, click ...
- click +
- Enter these details
| Field | SFTP |
|---|---|
| Host | your_domain.edinburgh.domains |
| port | 22 |
| User Name | DOMAIN_USERNAME† |
| Authentication type: | Password |
| Password | DOMAIN_PASSWORD† |
† Your Domain Username and Password should have been provided in your sign-up email. You can change your password at edinburgh.domains/user-information/ (sign-in required)
Test Connection
- Click Test Connection
- This should be successful. See Troubleshooting if there is an error.
Deployment Options
Once you have successfully setup and mapped your project, there are a couple more options to configure in Build, Execution, Deployment -> Deployment -> Options:
- Set
Upload changed files automatically to the default serverselecton explicit action - Click
Override default permissions on filesand make sure it is set to(644) - Click
Override default permissions on foldersand make sure it is set to(755)
Your SFTP connection setup for the project is complete. The next stage is to add the Fat Free Framework and the FFF-SimpleExample to your server.