Exploring Your Database with DataGrip
This article will show you how to access your database in order to explore the structure and make some basic modifications. You will eventually not need DataGrip as you will be able to create and edit tables of your database directly though php with FFF.
Install
If you have installed PHPStorm, follow the same process but select DataGrip. Sign-in to JetBrains to see your academic licence
First Start
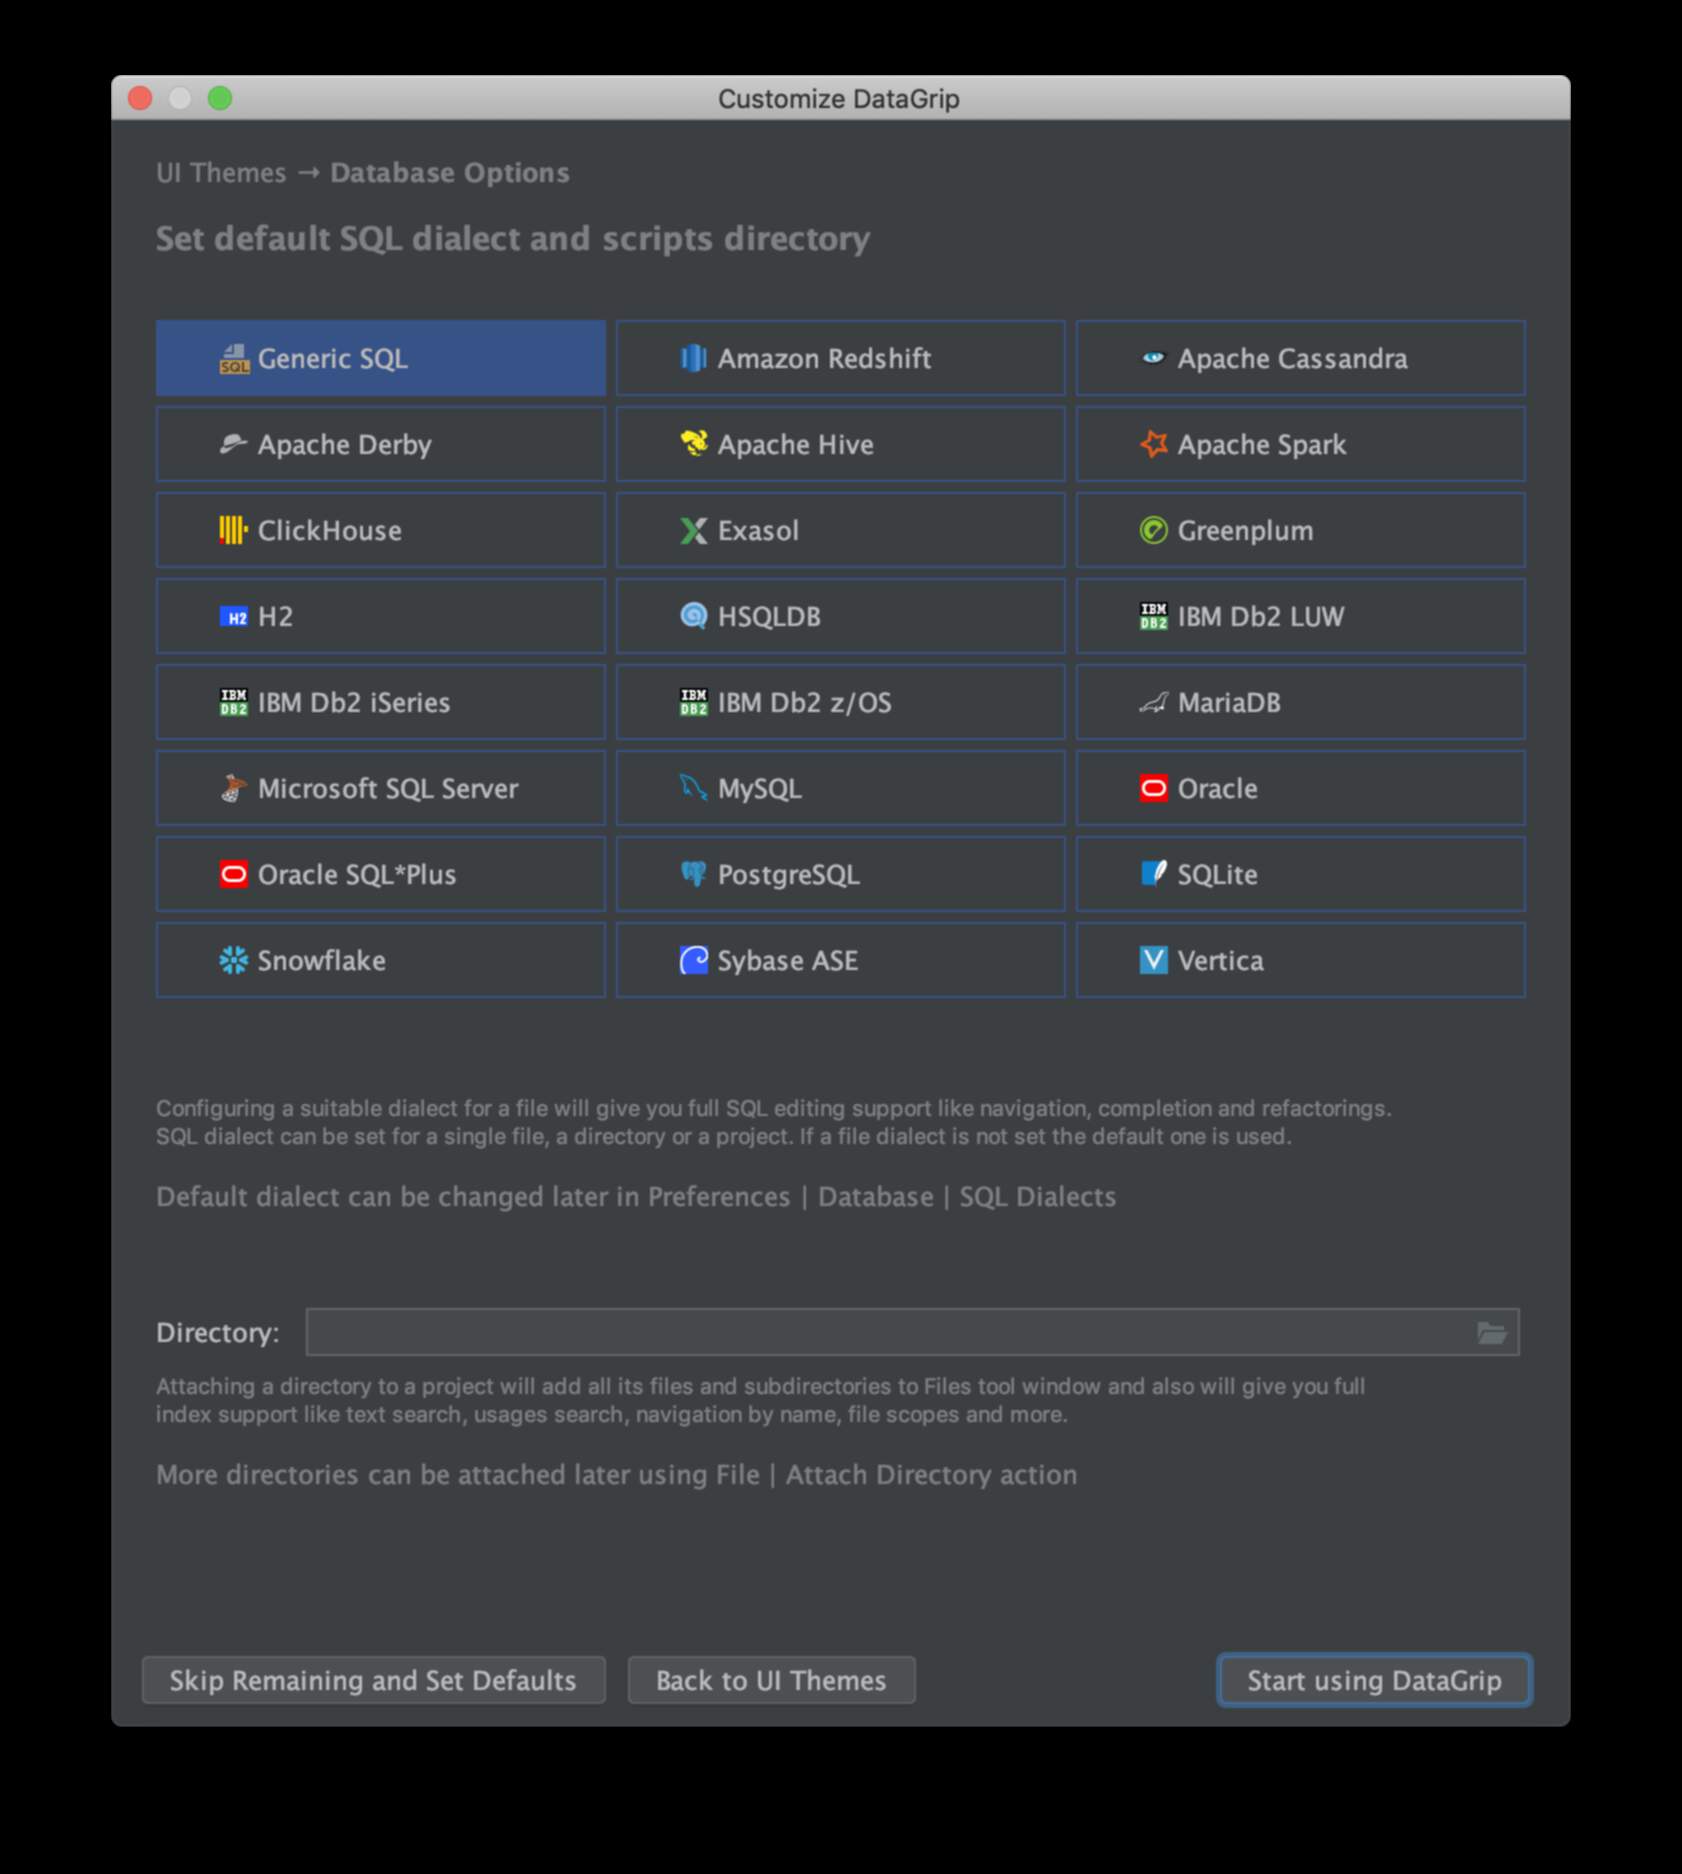
When you first start DataGrip you will be asked to set some defaults. Just skip this stage
Accessing your database
Connecting to the Database
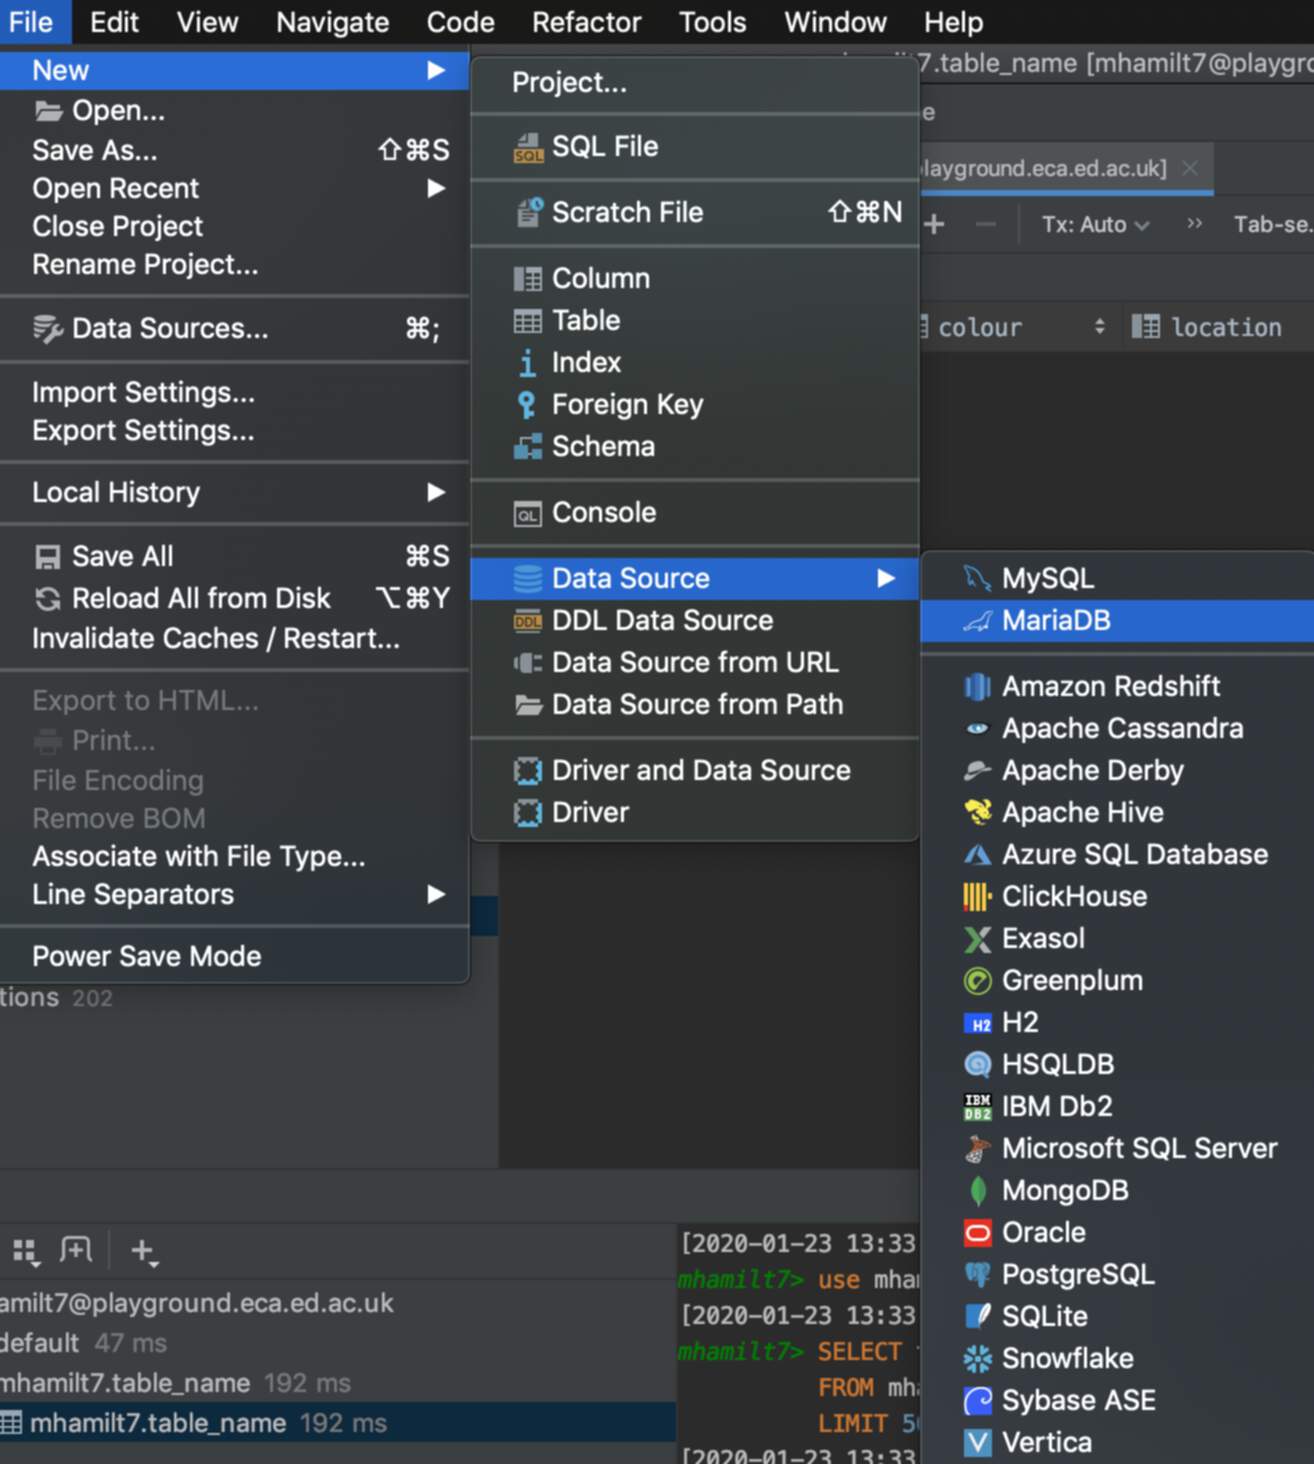
To connect to your Database, select File > Data Source > MariaDB
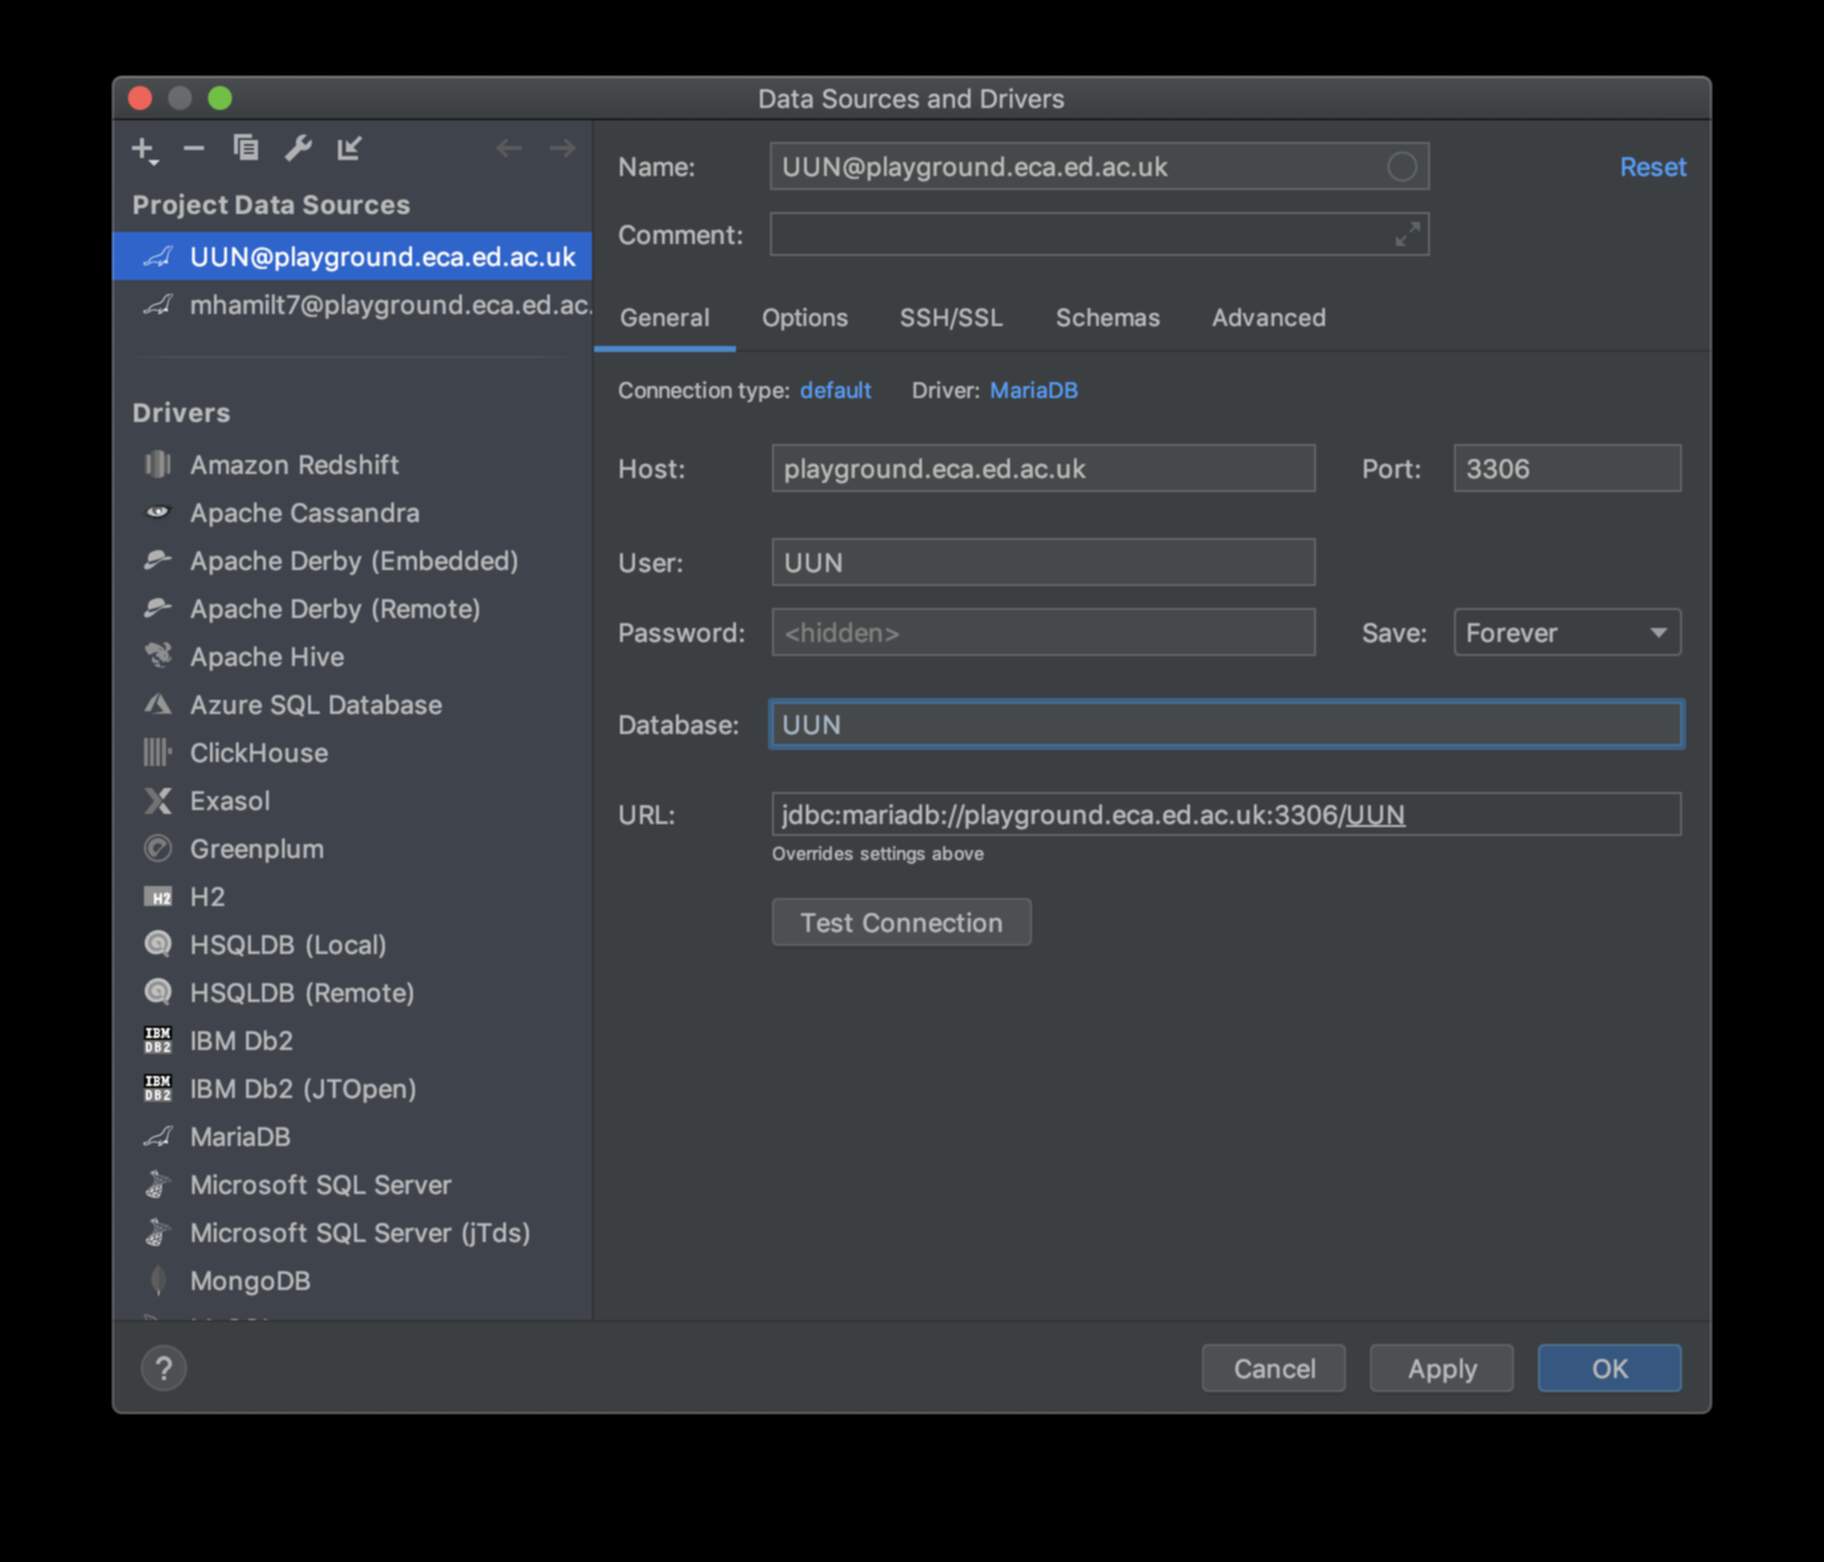
Fill in the details
| Name | Give it a Name |
|---|---|
| Host | playground.eca.ed.ac.uk |
| Port | 3306 |
| User | Your Student Number |
| password | Database Password from database_info.txt |
| Database | Your Student Number |
Your Student Number e.g.: s12345678
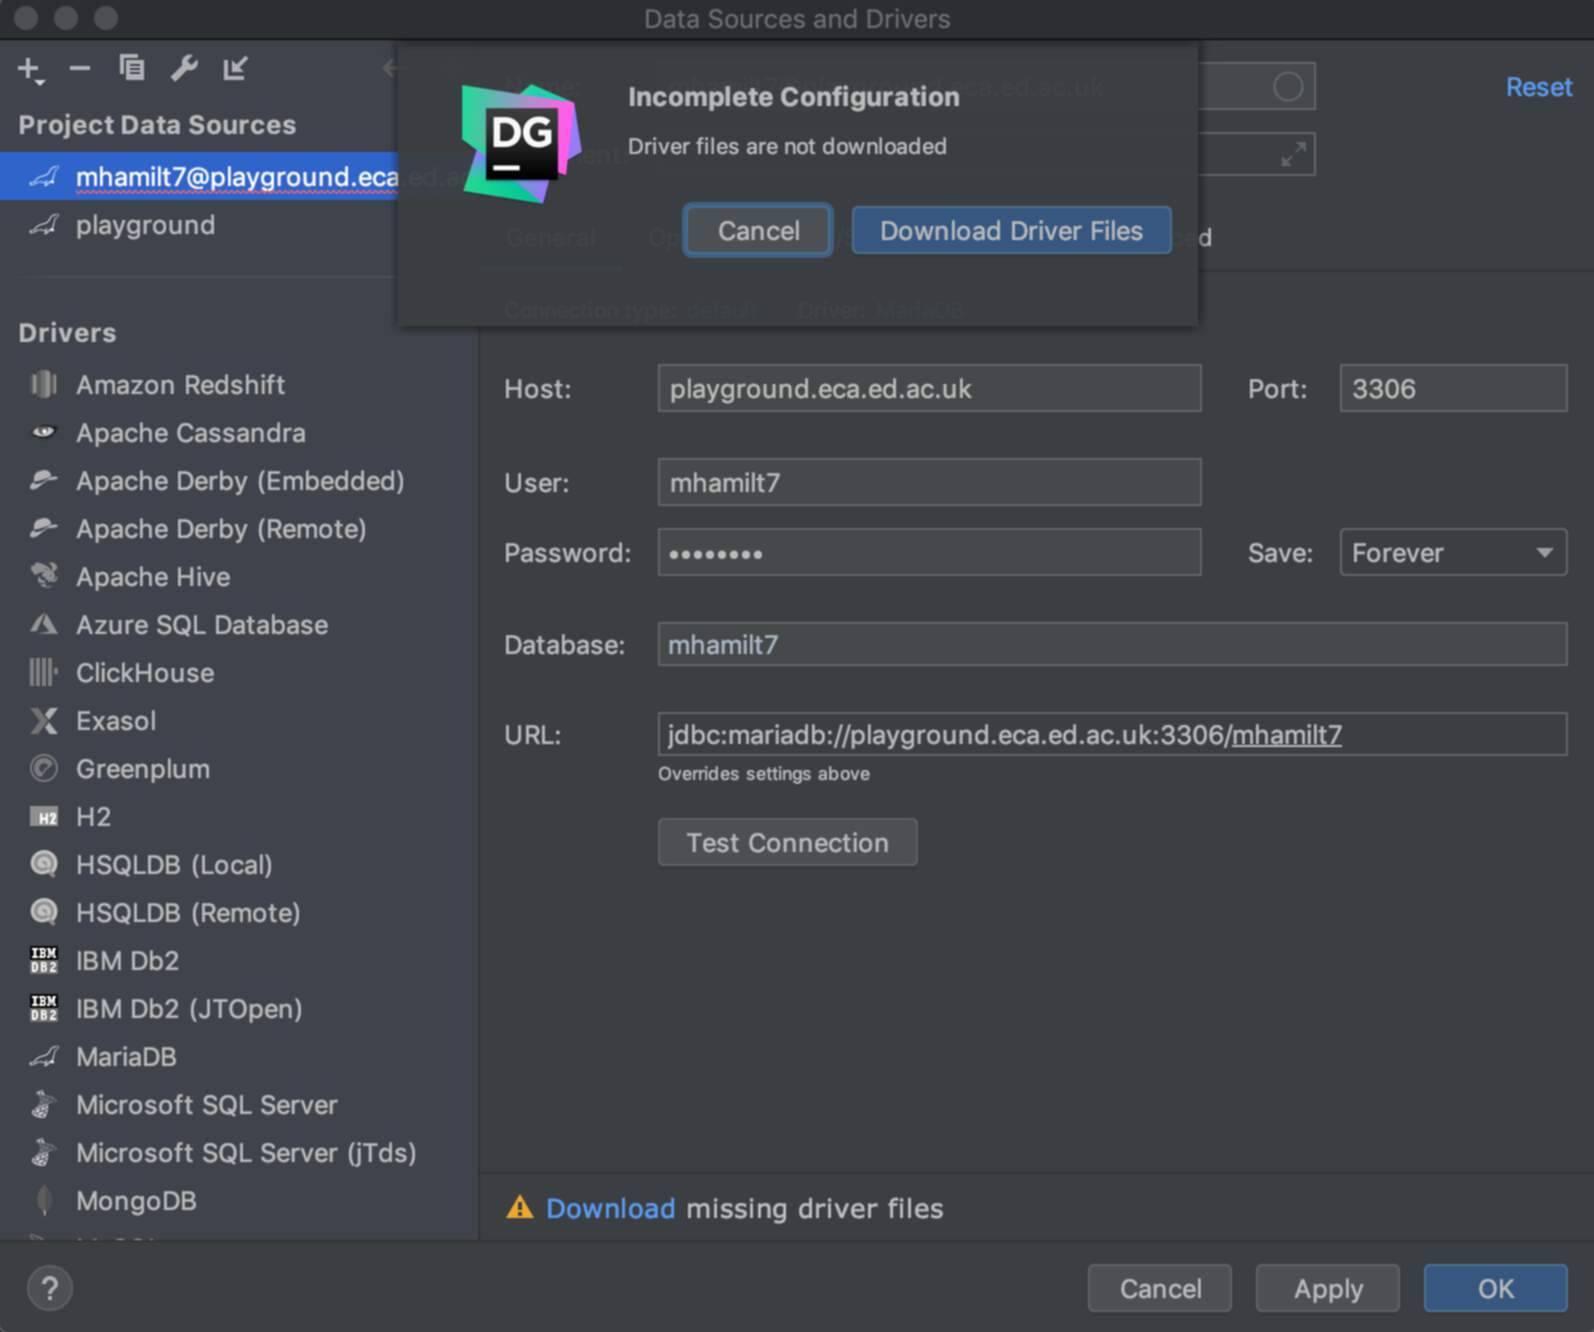
Click test connection and, if prompted, install drivers.
Creating a table
Create a table by right clicking on your database and select New > Table
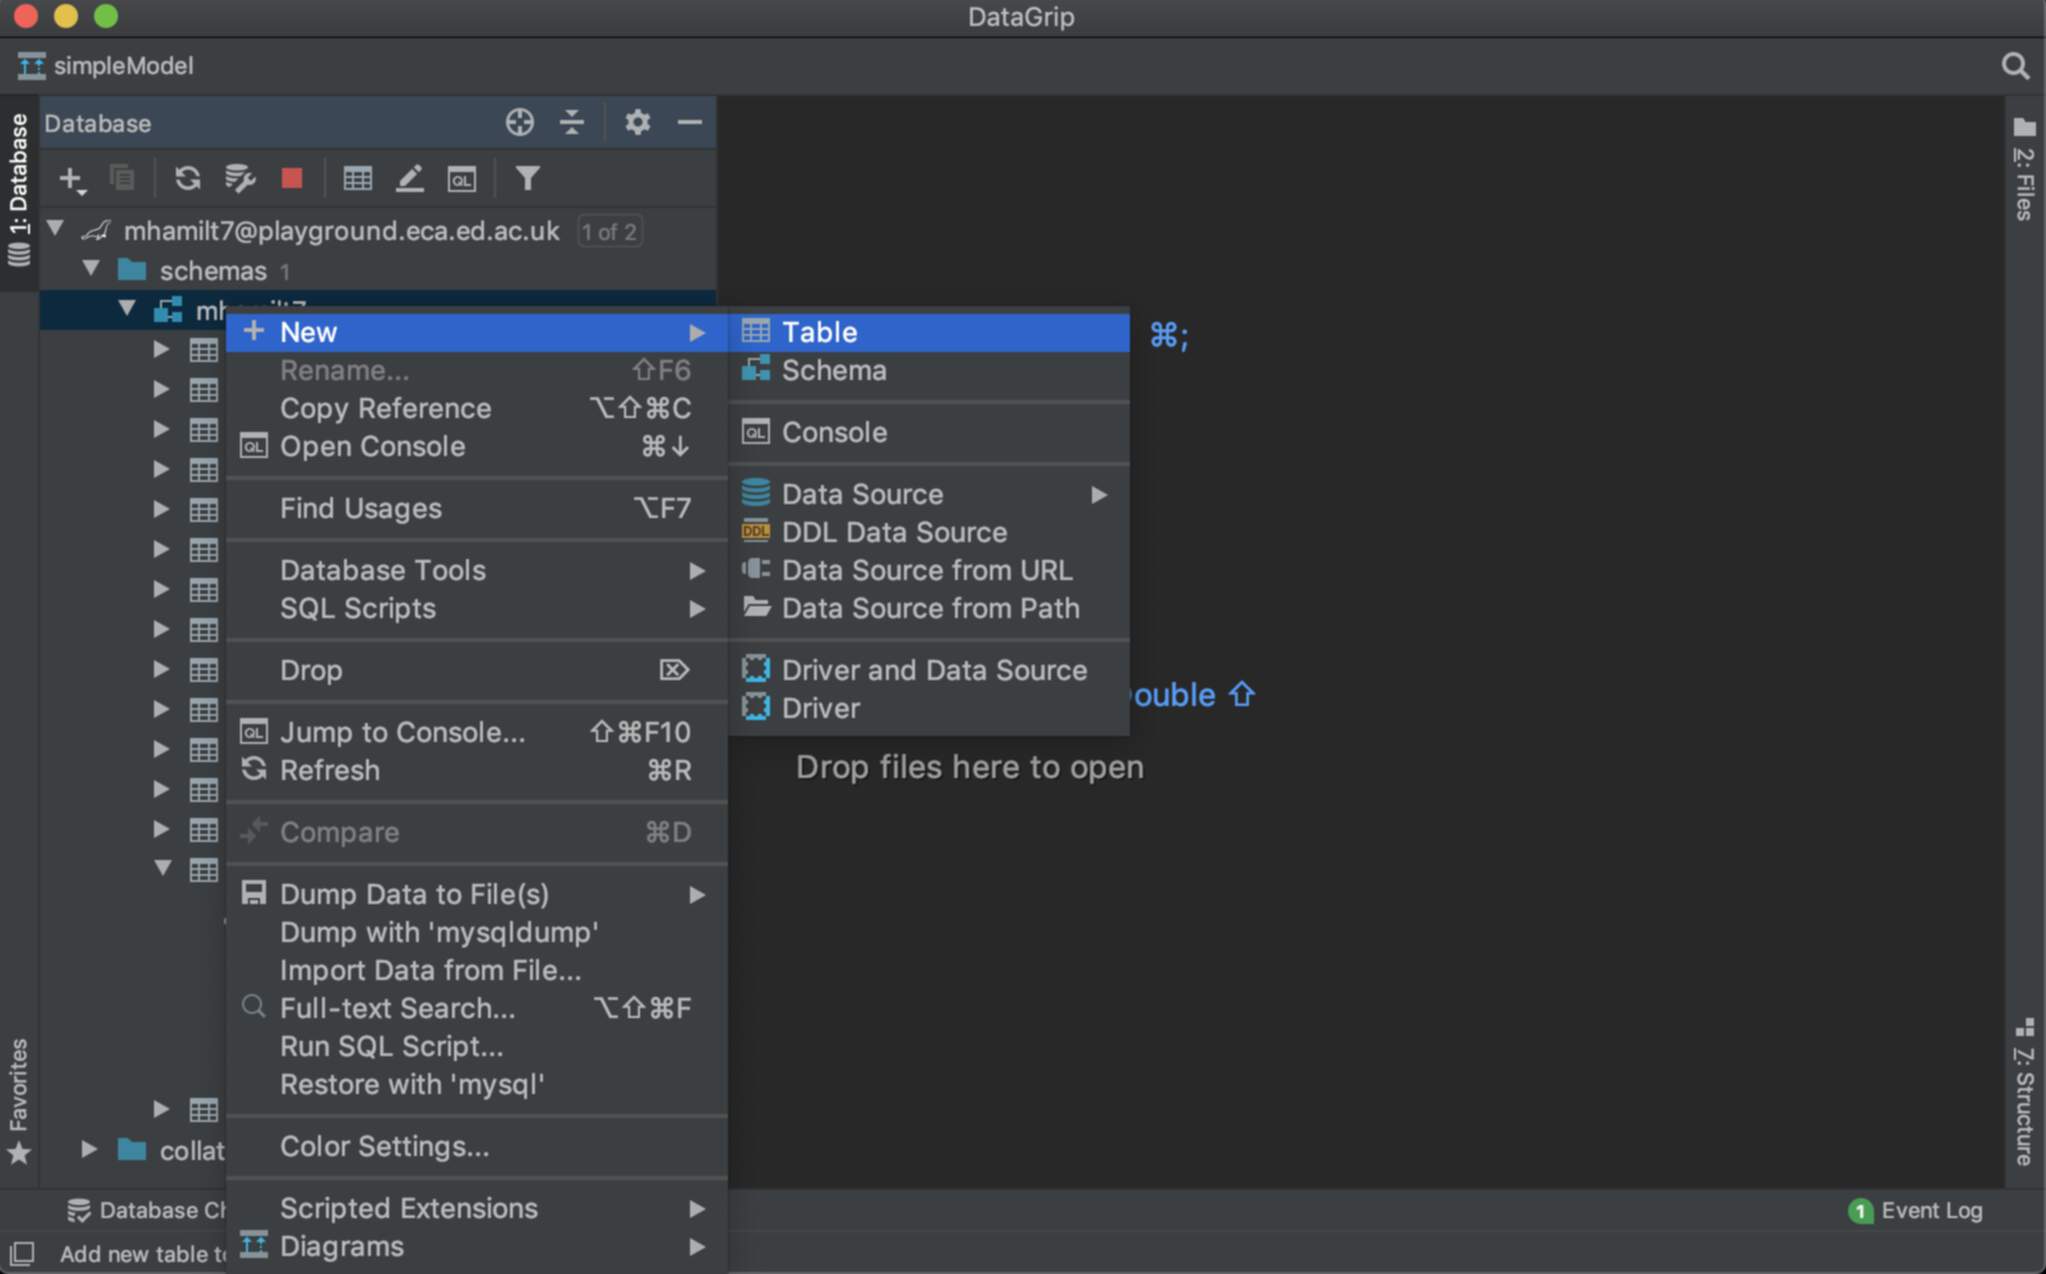
Add in your columns with the + icon. Give your column a name and type.
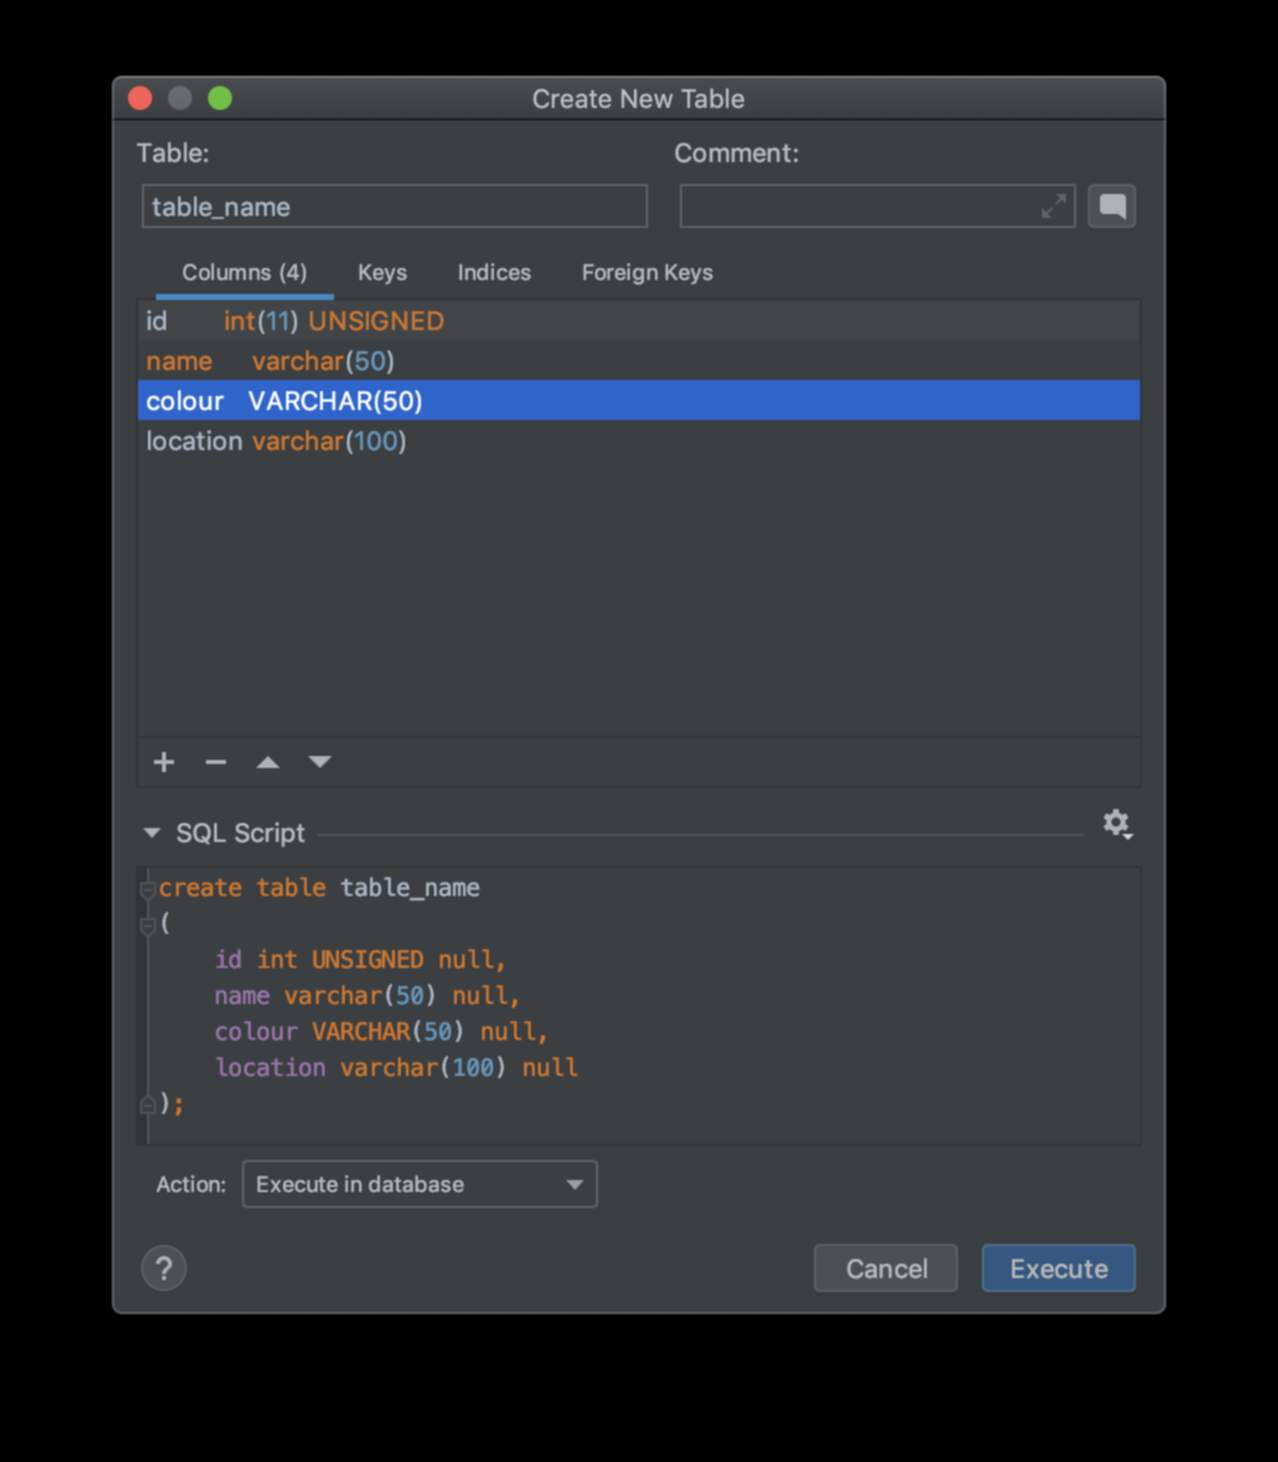
You can find a suggestion for type by pressing AutoComplete CTRL + SPACEBAR
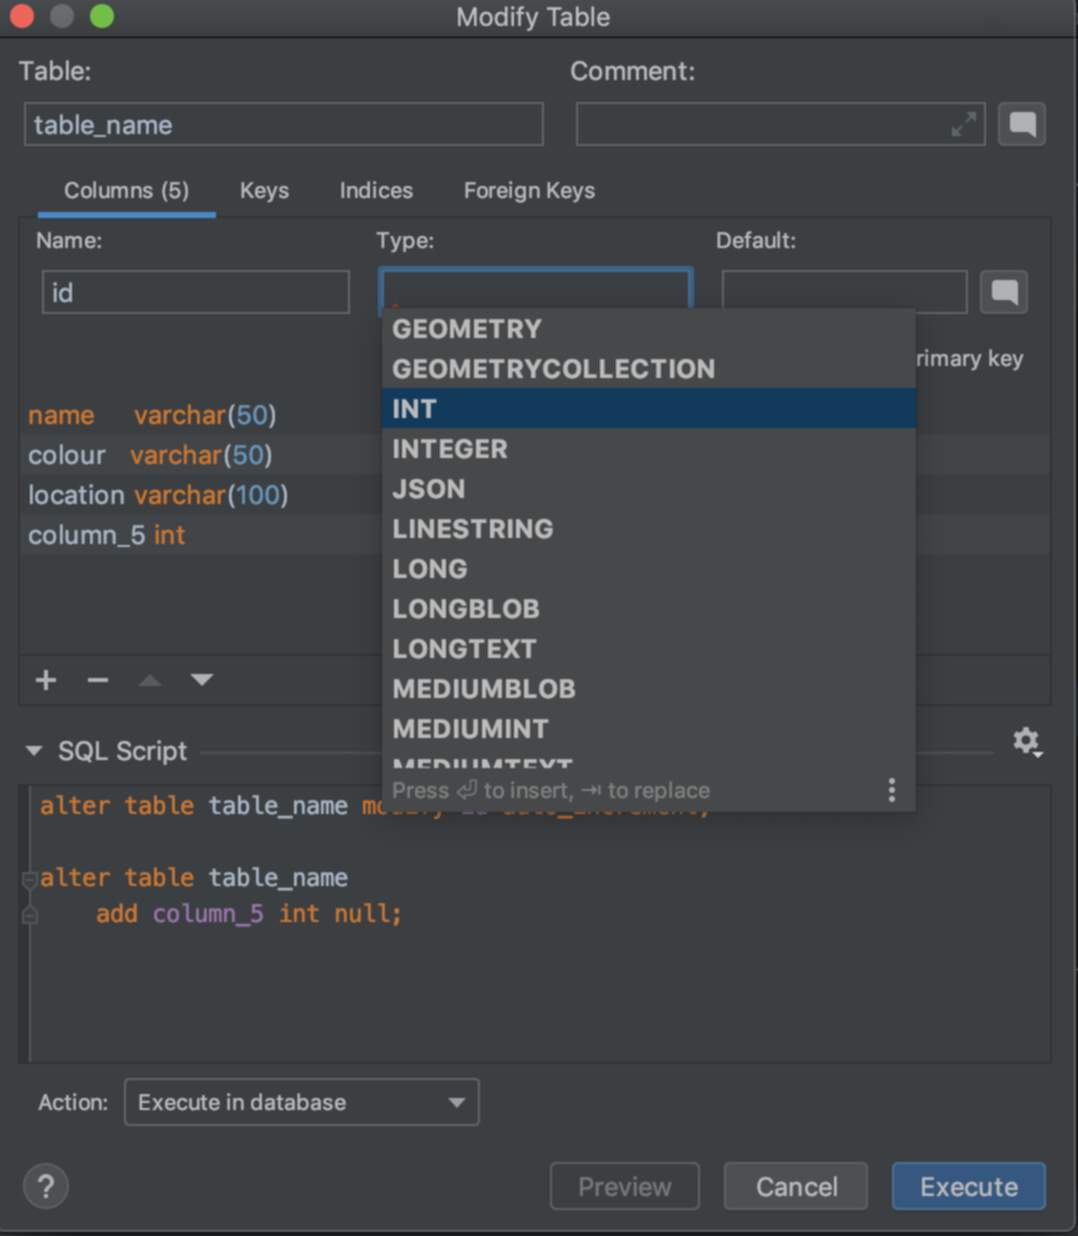
The most common types you will use are int and varchar. The number in brackets is the size of the field.
e.g: varchar(50) can stor a maximum of 50 characters.
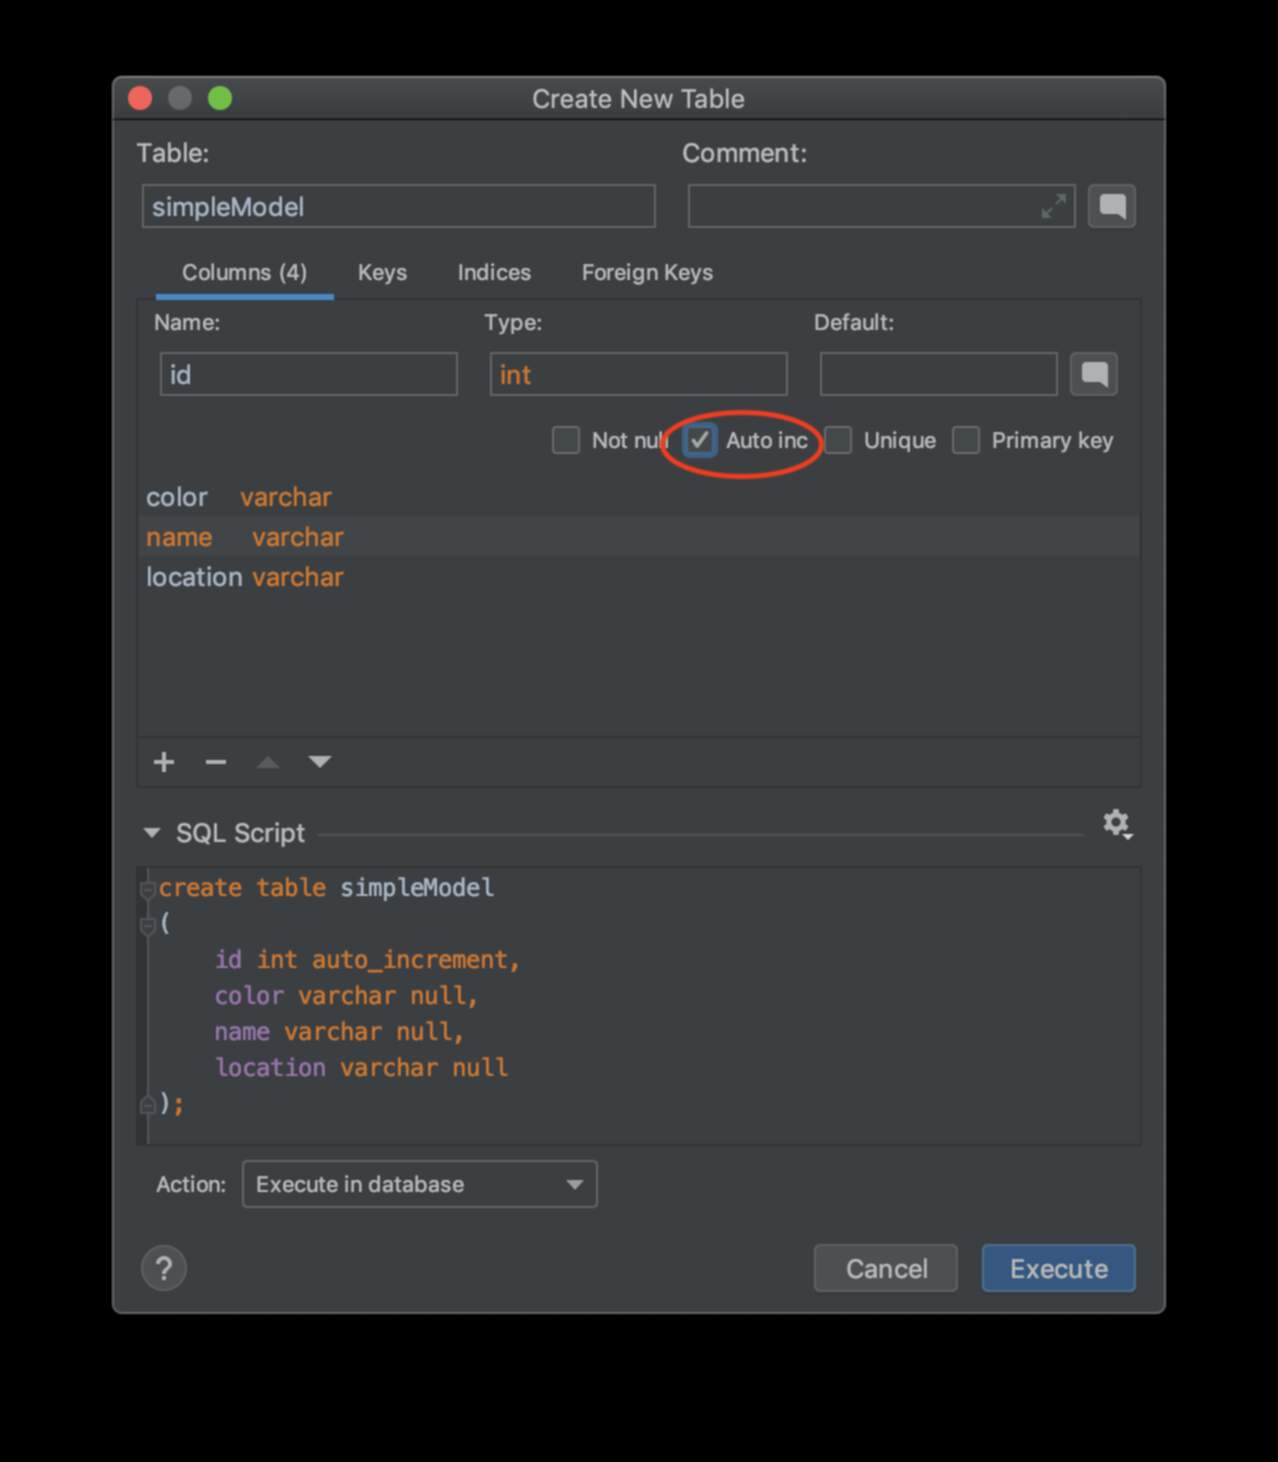
NB: don’t forget to check the Auto inc checkbox if you need a number to automatically increase.
Structure View
To view and edit the structure of your table, navigate through the top bar menu View | Tool Windows | Structure.

Data View
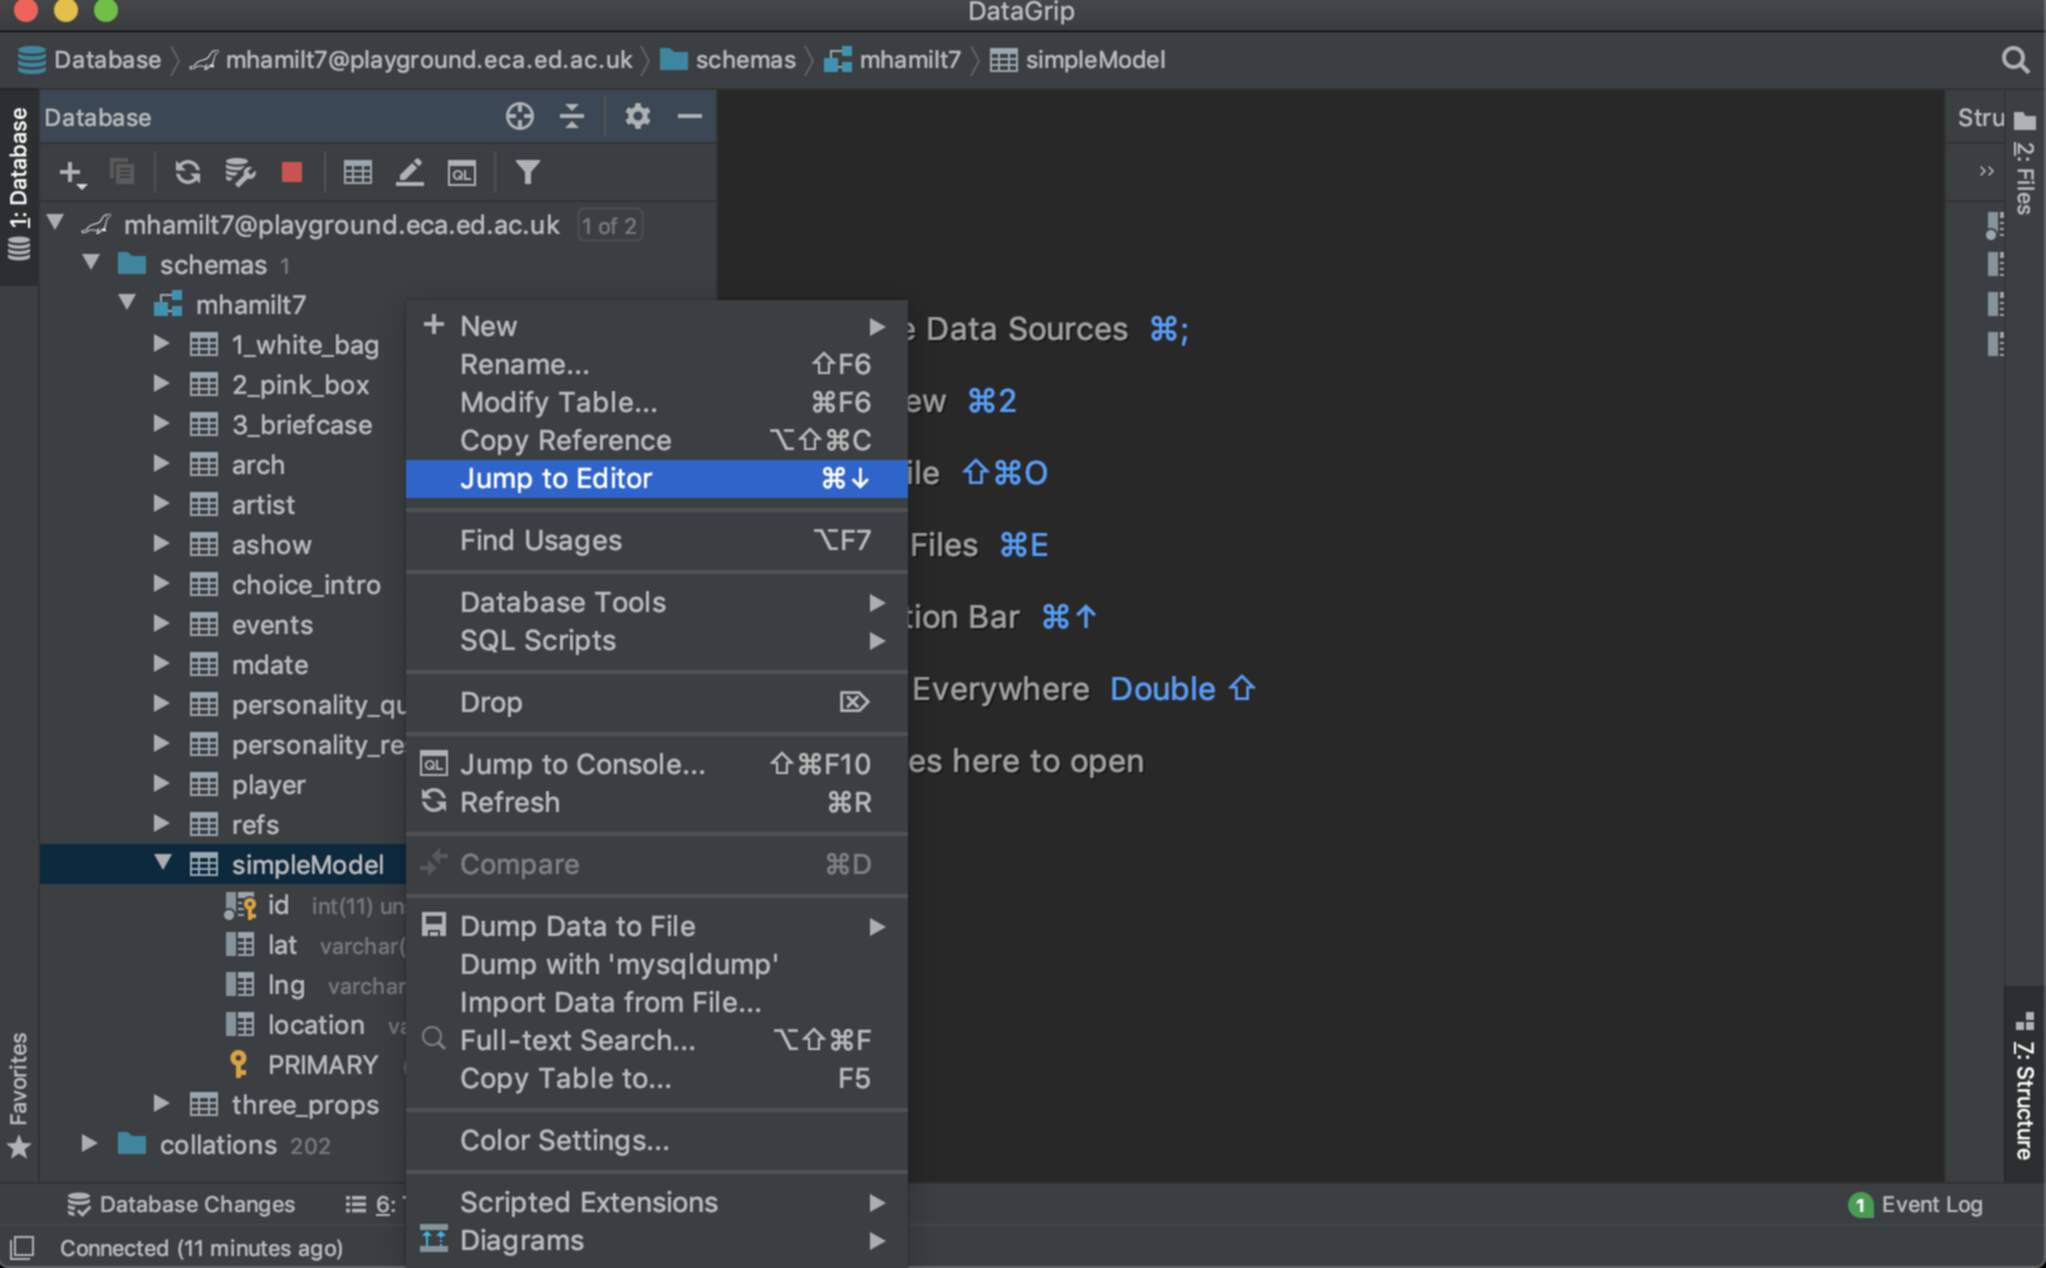
To view a table, double click on the side bar OR right click on the table and select Jump To Editor
Shortcuts / HotKeys
As with any editor, it is a wise idea to manage your keyboard shortcuts to make you more efficient at working. System wide keyboard shortcuts will override any for the app.
z.B: If you use translation software, you will likely need to reconfigure your Autocomplete keys.
Work smart, not hard.